WordPress has earned some really reliable name in the world of content management. With over 23% of the total market capitalization, the platform has proven it’s worth beyond any doubt. Many websites have adopted it as their launching base and look for WordPress module development so as to shift the alignment of the platform to meet their business needs. The popularity of the platform has led to the nourishment of WordPress module development as a full-fledged service. However, before you go onto look for those services, the first thing you have to look for is to install the latest version of WordPress on your system. Here we will discuss the installation of WordPress 4.6 on Ubuntu and Linux operating system using LAMP stack.
Steps for installation
Let’s take a look at the step by step installation process.
1. Apache installation:
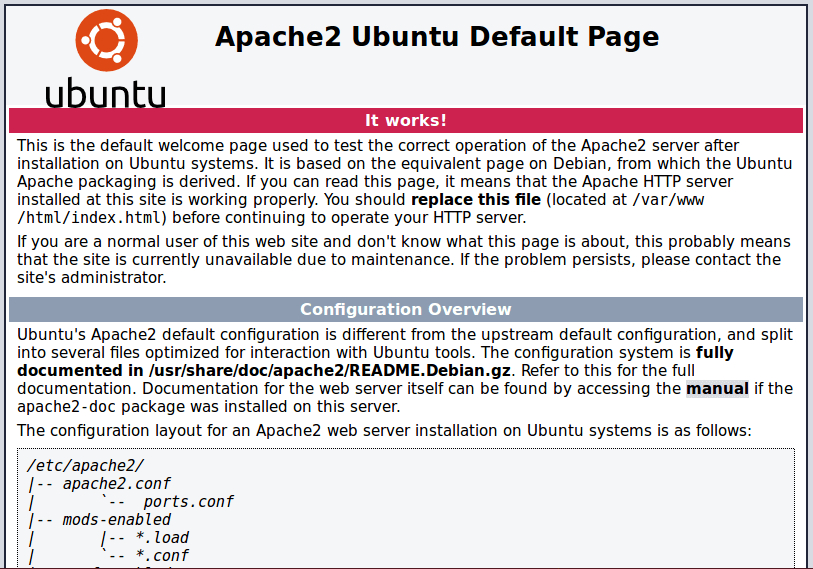
The first step which you are required to undertake is the installation of Apache web browser. Use the command shown below to download it. Enable Apache 2 web server to start service boost time and start service by using the command shown in the following picture. Check wether the browser is working or not.
Commands
$ sudo apt-get install apache2 apache2-utils
$ sudo systemctl enable apache2
$ sudo systemctl start apache2
2. My SQL server installation:
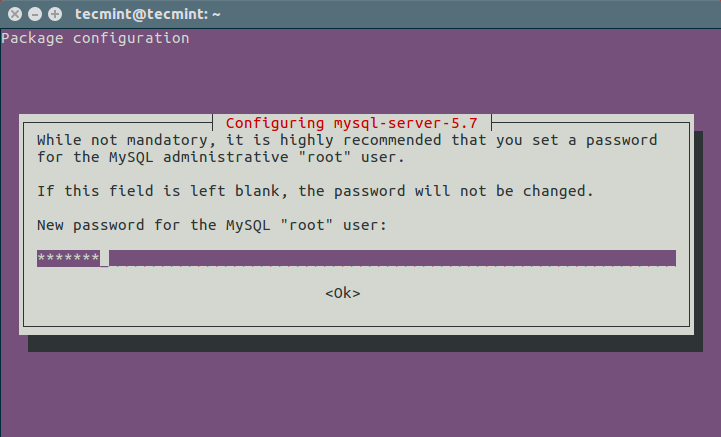
Install My SQL database server by running the following command. Select a strong root user password. After that issue another command (shown below the first command) to ensure the security of your database server.
Commands
$ sudo apt-get install mysql-client mysql-server
$ sudo mysql_secure_installation
3. PHP and module installation:
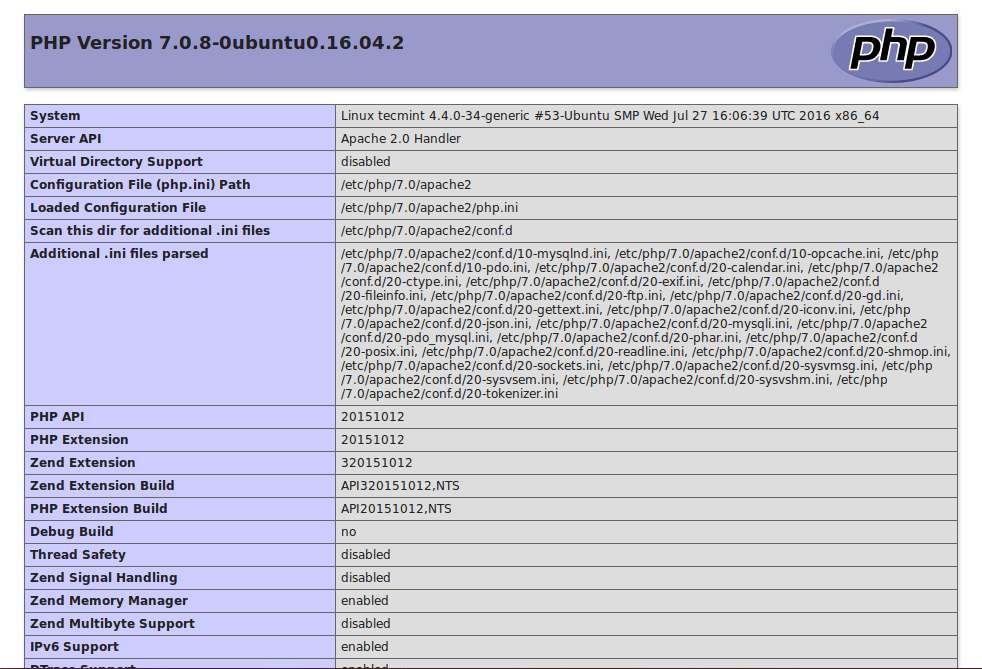
Now we will install PHP and other modules to work with your database server and the web (Use the following command). Now, we will create a info.php file to test whether php is working in collaboration of web server or not ( 2nd command). Now paste the code and press save and exit. Open the web browser and type http://server_address/info.php. Php info page will appear as conformation.
Commands
$ sudo mysql_secure_installation
$ sudo vi /var/www/html/info.php
<?php
phpinfo();
?>
4. Installing WordPress 4.6:
Download WordPress and extract its file using following commands. Now, move the WordPress files from the extracted to the Apache default root directory, to provide ownership of the WordPress file to the web server.
Commands
$ wget -c http://wordpress.org/latest.tar.gz
$ tar -xzvf latest.tar.gz
$ sudo rsync -av wordpress/* /var/www/html/
$ sudo chown -R www-data:www-data /var/www/html/
$ sudo chmod -R 755 /var/www/html/
5. Database creation:
Execute below-mentioned command and enter the password to enter mysql shell. Now follow following instructions to till the termination of the process.
Commands
$ mysql -u root -p
mysql> CREATE DATABASE wp_myblog;mysql> GRANT ALL PRIVILEGES ON wp_myblog.* TO 'your_username_here'@'localhost' IDENTIFIED BY 'your_chosen_password_here';mysql> FLUSH PRIVILEGES;mysql> EXIT;
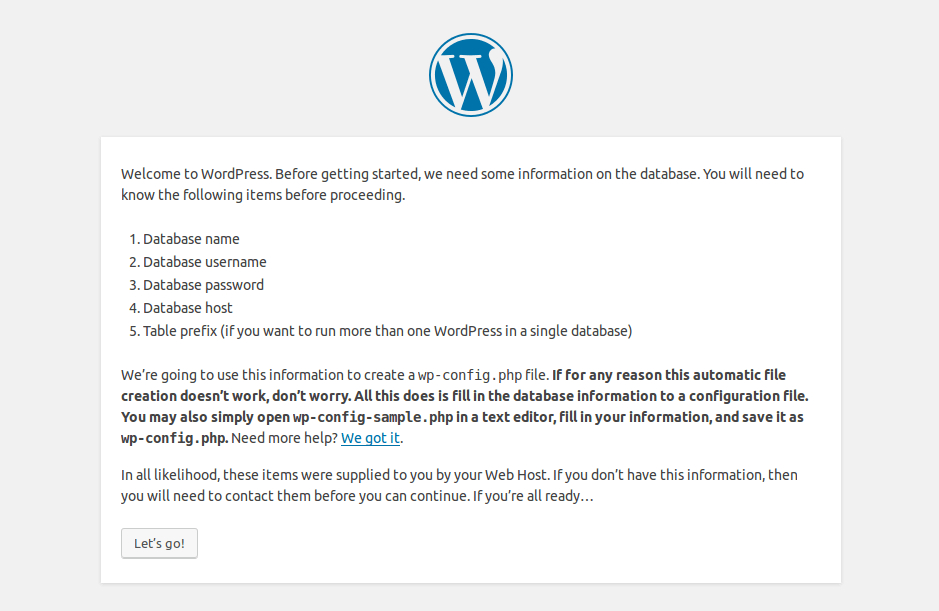
$ sudo mv wp-config-sample.php wp-config.php
// ** MySQL settings - You can get this info from your web host ** //
/** The name of the database for WordPress */
define('DB_NAME', 'database_name_here');
/** MySQL database username */
define('DB_USER', 'username_here');
/** MySQL database password */
define('DB_PASSWORD', 'password_here');
/** MySQL hostname */
define('DB_HOST', 'localhost');
/** Database Charset to use in creating database tables. */
define('DB_CHARSET', 'utf8');
/** The Database Collate type. Don't change this if in doubt. */
define('DB_COLLATE', '');
$ sudo systemctl restart apache2.service
$ sudo systemctl restart mysql.service
It’s done
Once you complete the above-mentioned procedure your installation procedure will terminate. Now, you can customize the WordPress platform as per your business needs and can integrate it with various WordPress module development to build on the experience of your website.

