OpenCart is one of the most popular Open-Source eCommerce solutions based on PHP programming language. The OpenCart development team releases the latest version on the official download page. It is free to download and anyone wishing to upgrade their OpenCart version can download the latest version from there.To keep your eCommerce site updated and secure with the latest fixes you should always update your OpenCart version whenever a newer version is available but make sure you have a planned upgrade so that any custom changes done in the core files are not overridden. Also with new versions, it is a possibility that your existing OpenCart plugins/extensions might stop working. In this article, we will see how can you upgrade your OpenCart version 1.5x to the latest available version 2.X.Steps to Upgrade OpenCart to the latest version goes like this:
- Step 1. Take a Backup-
- Step 2. Get the latest version of the OpenCart-
- Step3. Upload the latest version to your web-server- Step 4. Installing latest OpenCart version-
- Step 5. Last few things
So, let’s continue with our elaboration on how to complete these steps:
Step 1. Take a Backup-
Taking a backup of the existing system is always important before playing with it. It will make sure that you can always revert back if anything goes out of the regular flow.
- OpenCart files:First download a copy of your OpenCart files from your web-server and keep it on your local computer system. You can download the files either using the Cpanel of your web-server or an FTP client like FileZilla. Generally the files of OpenCart are located at /var/www/html but this might be different too. In order to have a look at the same you may open the config file from /etc/httpd/sites-enabled (on Redhat or CentOs) or /etc/apache2/sites-enabled (on Debian, Ubuntu, Mint based servers). Read more about how to edit files on Linux and what does Apache Config File mean.
- Database: You can export the database of your OpenCart store through phpMyAdmin (Learn in 5 steps how to install PHPMyAdmin). Alternatively, you can create a backup directly from OpenCart dashboard >> Tools >> Backup/Restore.
Step 2. Get the latest version of the OpenCart-
As specified in the beginning itself, you can get the latest version of the OpenCart from its official download page.
- Go to the download page from the link given here..It will open the official download page which looks something like this:
- Download the latest version showing on the page.
- After the download, you will see a Zip file. Unzip the file on your system where you can easily access it (How to unzip a file on Linux).
Step3. Upload the latest version to your web-server-
There are two ways using which you can upload the file on your web-server.
- File manager in cPanel
- FTP client like FileZilla or WinSCP (WinSCP works only on Windows)
PS: You will be asked to handle the file names during the upload process. Here you need to choose to overwrite and apply it for the current queue. In this way, all the files in your existing OpenCart folder on the web-server with the same name will be overwritten with the new files from the latest OpenCart version you are uploading.
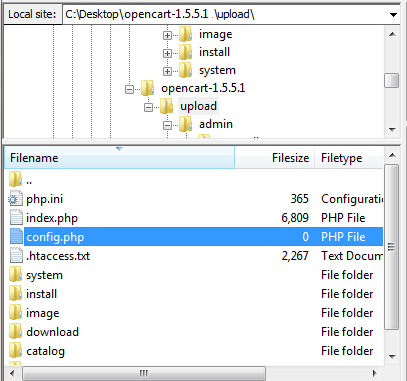
Caution: In the unzipped folder of the latest OpenCart version that you have kept on your computer, make sure you have found the ‘upload’ folder. You need to upload everything from this folder to the web-server, except for two files that you need to skip uploading. Do not upload “upload/config.php” and “upload/admin/config.php” from your unzipped folder to the web-server. If you override these files then your OpenCart site might stop working. You may always edit the new Config Files though.
- Do not overwrite the “upload/config.php” and “upload/admin/config.php” files
Step 4. Installing latest OpenCart version-
- Open your browser and enter your domain address followed by /install/ after the domain address (Site URL) and press enter. Say “www.yourstore.com/install”.
- It will initiate the OpenCart auto-installer interface. Since, this is an OpenCart update, not a fresh installation it will have only a few steps.
You will find a screen like the below screen-shot:
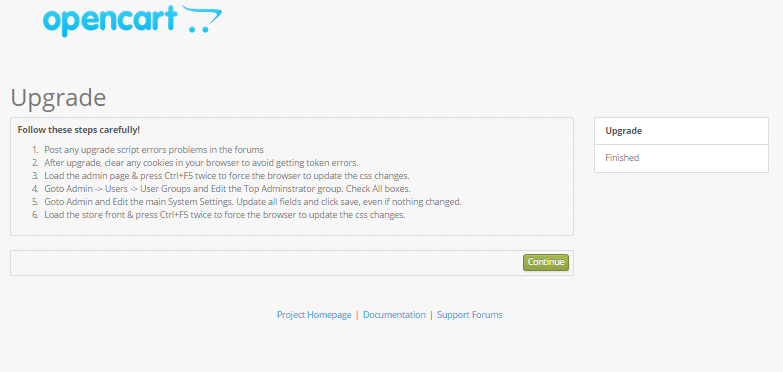
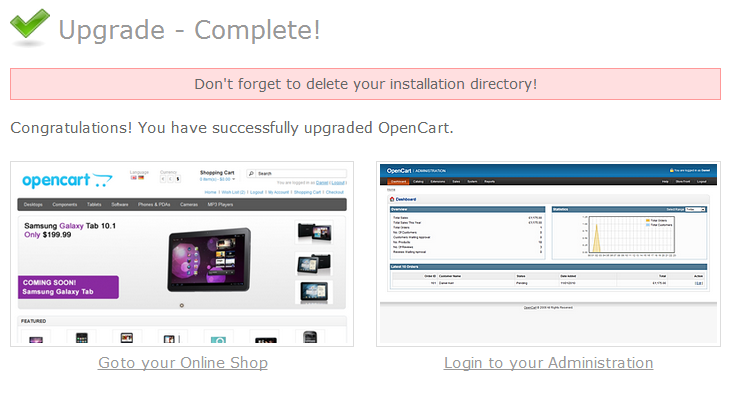
After completing the install procedure, you will see the following page indicating that your upgrade is complete.
Last few things
Yes, the upgrade has completed now, but there are still few things that you should get into order from Admin side of the store:
- Clear cookies from the browser so that they get refreshed with the new installation
- Clear browser Cache by Pressing CTRL+F5 three times both on Admin and Front side of the store.
- Check the store settings and fill any information that is missing after the upgrade.
- The top admin should have all the access needed to run website as an admin. So, give the top Admin all the required access from User Groups section. You can follow these steps to do the same in OpenCart 2.x versions. Procedure for other OpenCart versions is also almost same:
a) Login into OpenCart Back office as an Admin user.
b) Click the settings icon from Navigation Menu on the left side.
c) In this Menu option navigate to Users >> User Groups, to find the below screen:
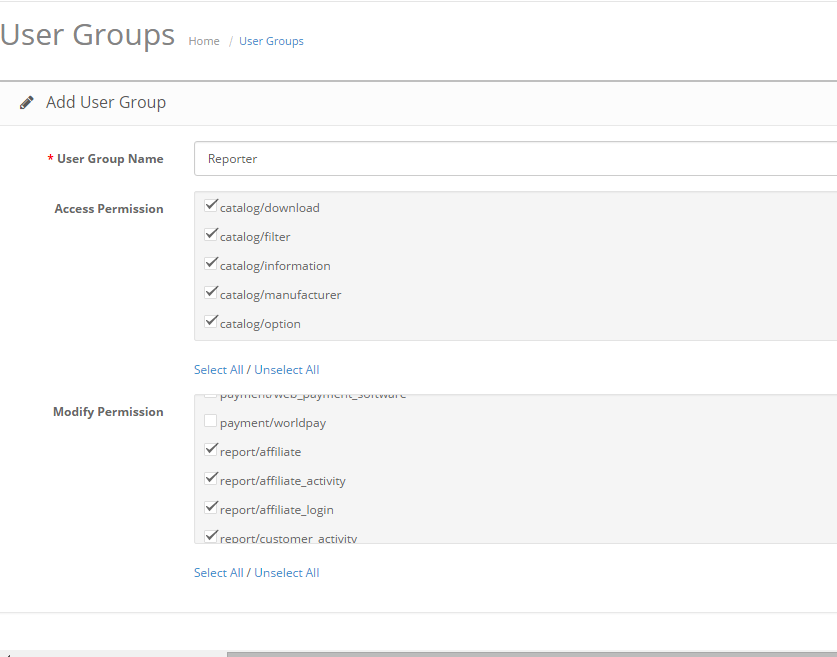
Here, you need to provide the top Administrator group full permission to access as well as modify your OpenCart site. Select all permissions and save them to implement the changes. Once you have Made the User group and missing settings in order, your OpenCart store is ready to sell with the latest version of OpenCart.
Finally,
Upgrading the OpenCart version of a production site is a tricky task if it is not done carefully. It is recommended to have an OpenCart expert by your side to do this job, if you are not aware of the file structure and configurations of the latest OpenCart versions.
Some OpenCart development services do include an upgrade service in their packages too. Their experts are generally aware of the working of all the OpenCart versions and their upgrade procedures. So, if you are already in touch with, you should ask them to perform the upgrade for you. This would make sure that your upgrade is done by an expert OpenCart developer, minimizing the chances of error.


