Microsoft SharePoint 2013 has proven itself as a collaborative environment that allows the various business organization to optimize their efficiency irrespective of their size. Here we will discuss on one of the most frequently asked questions from the SharePoint 2013 user beginners. Yes, you got it right! We will be talking about the creation of a new master page in SharePoint 2013.
Planning
A master page represents the core element of your website. These are those elements that remain constant from page to page. This will require the fonts, images and analytic to be present on each page. The content in the middle of the page can be managed by SharePoint using a combo of page layout and dynamic content. Before moving on to the SharePoint it is advised that you should make a trial HTML version with the core element isolated.
Creating an account
Creating a Microsoft account for sign up is the first step you should take in order to create a new master page. You also have the option to download the SharePoint beta version locally.
Publishing site creation
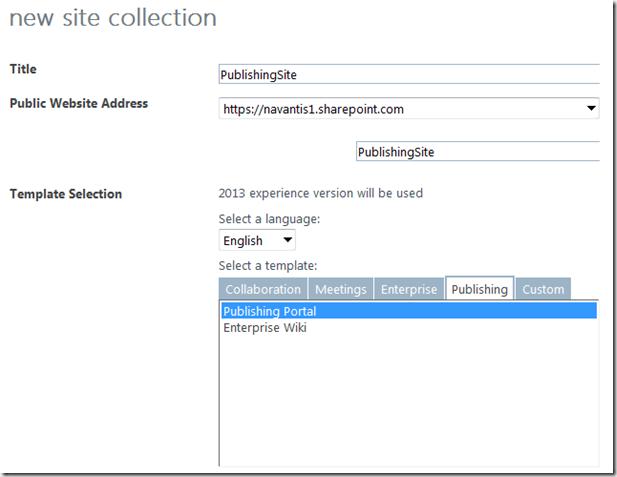
Once you have created an account, you are provided with a public facing and a collaborative site. Now you have the option of either going with the public facing view or making changes to create own publishing site collection. The latter is recommended as Microsoft allows only one public site in the current cloud environment. To create a new publish site go to Admin>SharePoint>site collections>and then click on the new private site collection.
Mapping master page directory
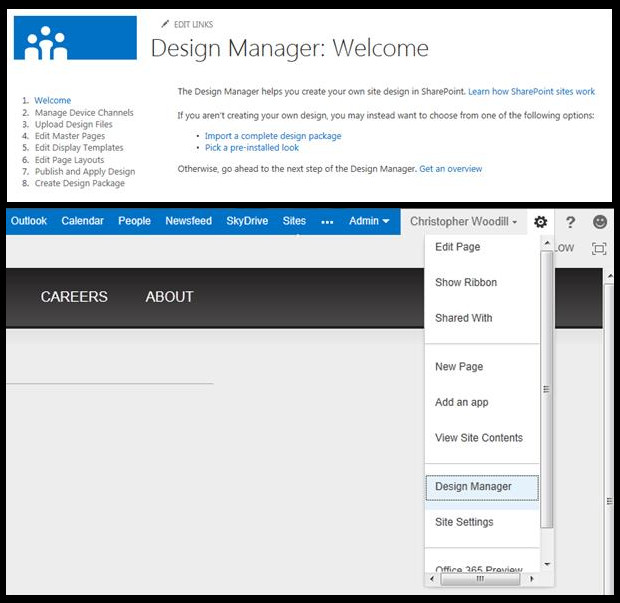
After the completion of the above step, you will be left with a new publishing site with customization to be made with your master page. Now you have to click on Design Manager so as to progress with the further processing. Click on edit Master Page.
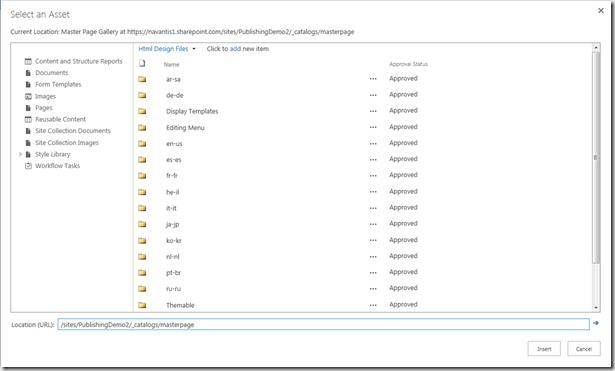
After that click on HTML to SharePoint conversion button, a dialogue box will appear. The directory is the folder showing the master page and layouts along with their dependent assets.
Go to windows explorer, right click and select map network drive. Copy and then paste the URL for the location of this directory and put your login credentials.
You will get a drive letter that maps to this folder and you can copy paste the files from your local machine to SharePoint directly. In case you are unable to map the drive, you can upload the file through UI by going to site settings and clicking on Master pages and page layout.
Creating a Master Page
After uploading files, we will create a new SharePoint Master page. SharePoint directly converts HTML files into ASP.NET Master Page automatically.While doing so it will sync the changes to Master Page. Now go to Design Manager, click on edit master page and then click on convert HTML file to SharePoint Master Page. Select HTML file and click insert.
Publishing Master Page
This is the last step in the process. To publish go to site settings>Master pages and pages layout, and look for your HTML layout and then find your HTML file. Now click on publish button. Assigning Master Page to your website
To assign the master page on your website go to site setting>Master page and then select your master page from the drop down list. After this, your site will adopt to the new look and feel.
Finally it is done
After following all the steps, your website will adopt the new master page created through SharePoint. You can now utilize it to maximize the working efficiency of your business and make changes from time to time.

