Database backup is an important procedure that you must necessarily know if have a live website or learning website development. It is very important to do a backup of your MySQL database to make sure all the data is safe and secure somewhere apart from the server. Even in our Magento, PrestaShop, and OpenCart development services our first priority always remains at taking the backup of the databases regularly.
There are eCommerce services for MySQL database backup management to help you out if you cannot do it by yourself. However, I would recommend you to do not depend on the services for this. You should know all by yourself as taking a database backup is not an occasional task. You should regularly do it to make sure you never loose your data even if the server crashes. Taking a backup of your MySQL database in phpMyAdmin is a not a tough task. With certain caution and care, you can Backup or Restore the database very easily.
MySQL Database backup in 6 steps-
Step 1: First of all, log into your cPanel account provided by your web hosting provider.
The interface and controls of different cPanels are not exactly the same, but they are similar and you can find the steps here applicable to all of them.
Step 2: Now, after logging in, scroll down on the Home Page to Databases and click on phpMyAdmin
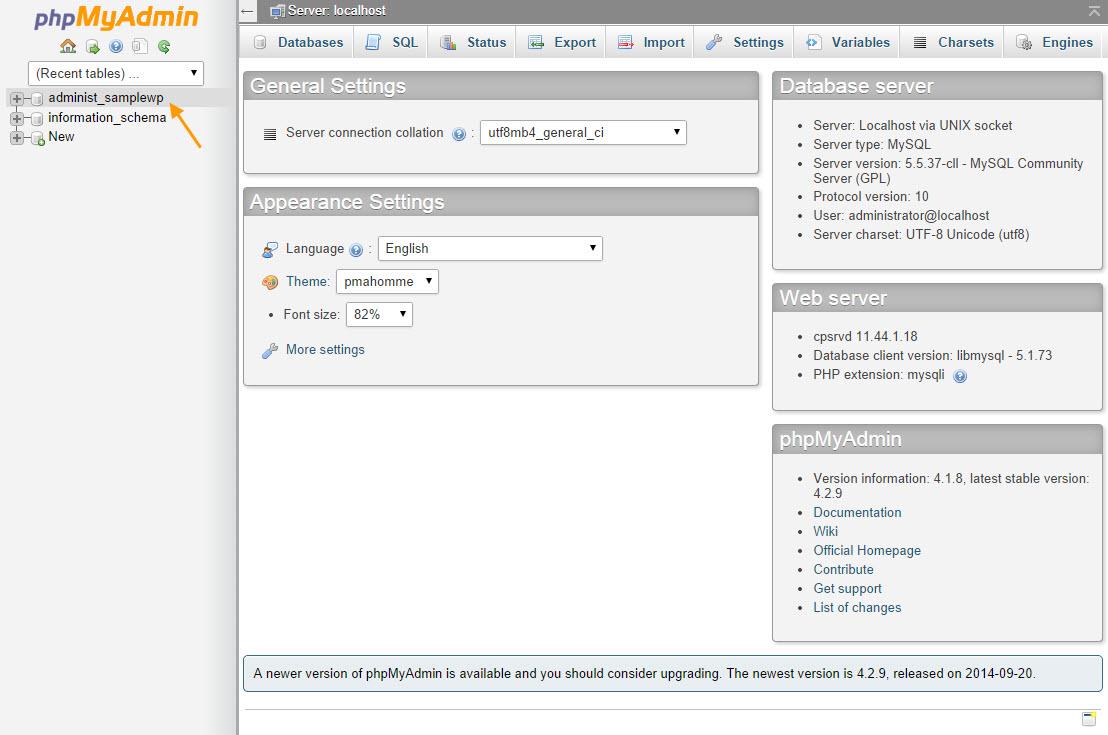
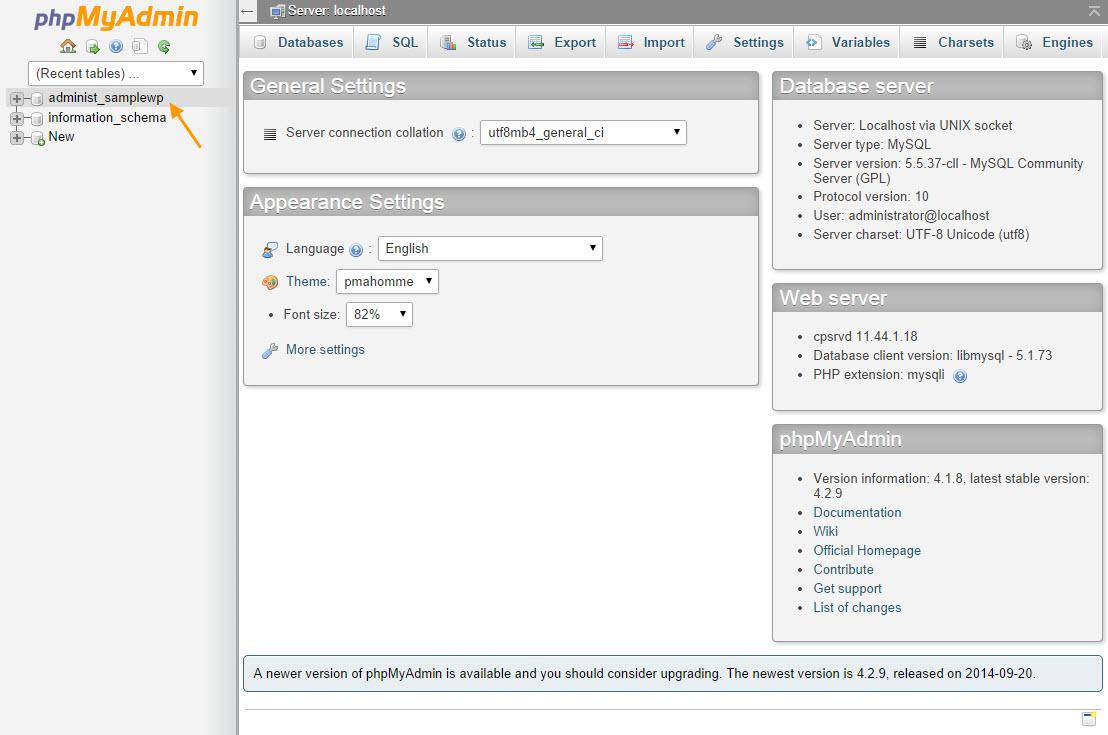
Step 3: Now, choose the database you want to backup using the left navigation tree As shown in the image below:
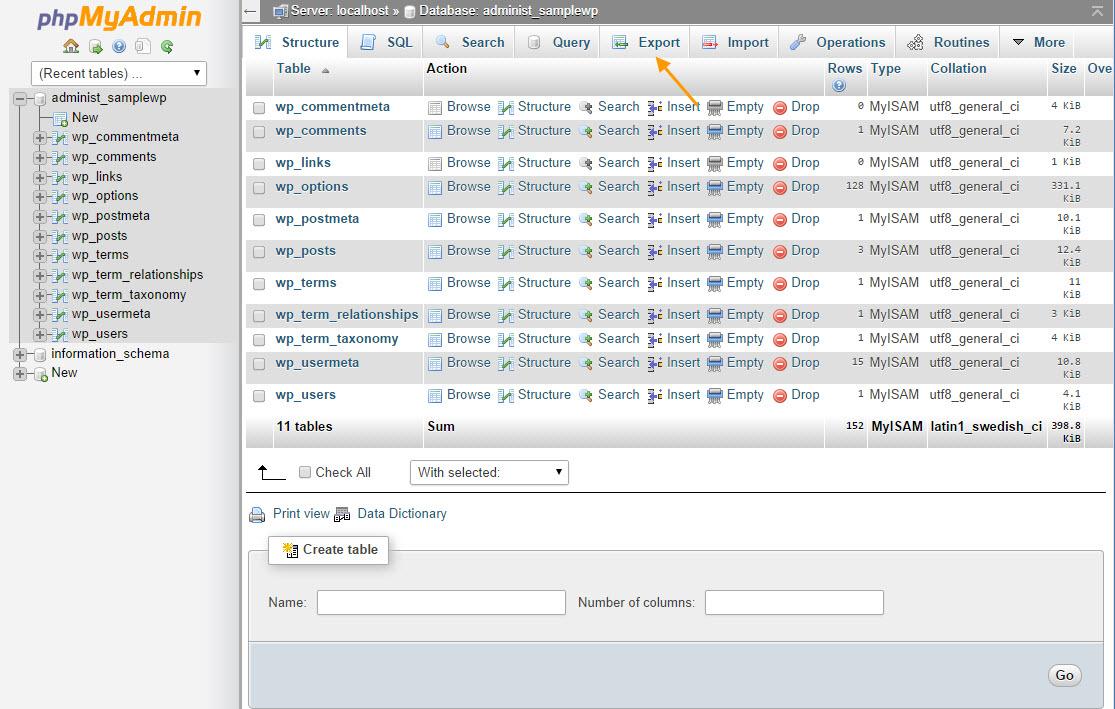
Step 4: Now, click on the Export tab as shown in this image below:
Step 5: In the next screen, you will see two options:
Export Method:
- Quick – display only the minimal options
- Custom – display all possible options
Choose the Quick option and click on Go button
Step 6: You MySQL database backup through phpMyAdmin is finished here. Right after clicking on the Go button, your database will be downloaded to your PC with the file extension “.sql”.
Restoring MySQL database on phpMyAdmin in 6 steps
Now that you know how can you take a backup of your MySQL database, it is also important to understand how can you Restore that back in case of requirement.
Step 1: Like in the previous section, log into your cPanel and find the phpMyAdmin. Open It and choose the database that you want to replace with your backed up database file.
Step 2: The phpMyAdmin does not drop the tables first. If you continue with the Restore with these tables already in the database, it will show errors.
You need to first drop the tables (of your database) before importing the backed up ones. So, click the Check all checkbox at the bottom of the table list.
Step 3: Now, Click With selected, it will open a drop down menu. Select Drop from the list, and confirm the action by clicking Yes.
Step 4: Now, click on the Import tab. It will open a new screen.
Step 5: Here you need to click on the Choose File button to Open the file browser from where you will need to select the MySQL backup file.
Step 6: After selecting the Backup file, click on Go button. Your import will start instantly.
Last few words- Hopefully, this step by step guide will let you create a backup of your database without any issue. Moreover, it will also help you to restore the backed up databases to the server. It is always recommended to take a regular backup of your database. It will be helpful in case of a server crash or data loss due to any reason.
If you think it is a laborious task to take regular backups manually, you can also use various plugins and extensions that can automatically take the database backup on regular intervals and save it on your cloud storage.


